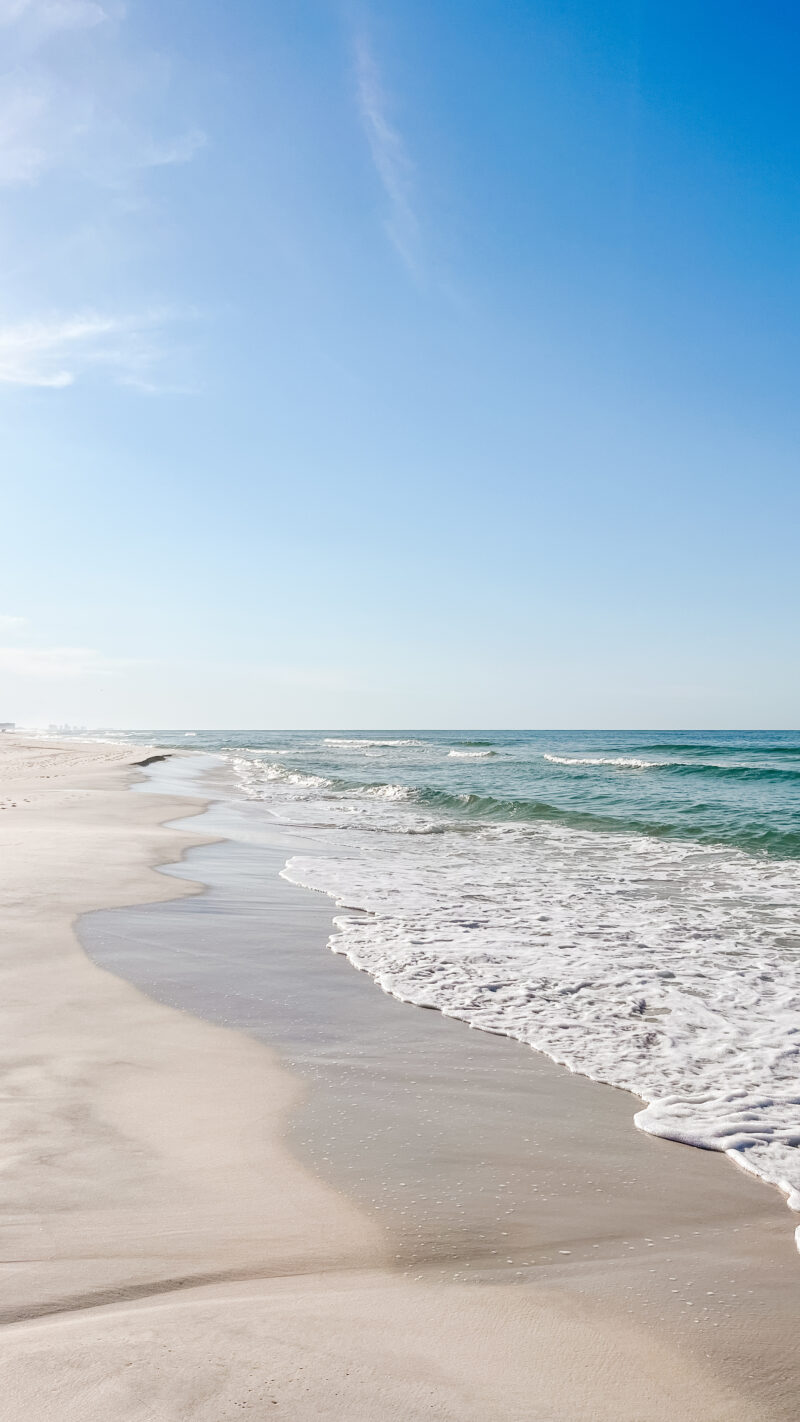
Happy Friday. What a week. Ours has been a whirlwind and my daughter turning 18 has really hit me hard. These feelings and how to handle them weren’t in my parent handbook. But with summer just around the corner, I have my sights set on all things beach. Nothing like the sun shining and spring in full effect to bring out the light and airy feel of coastal decor.
COASTAL VIBES
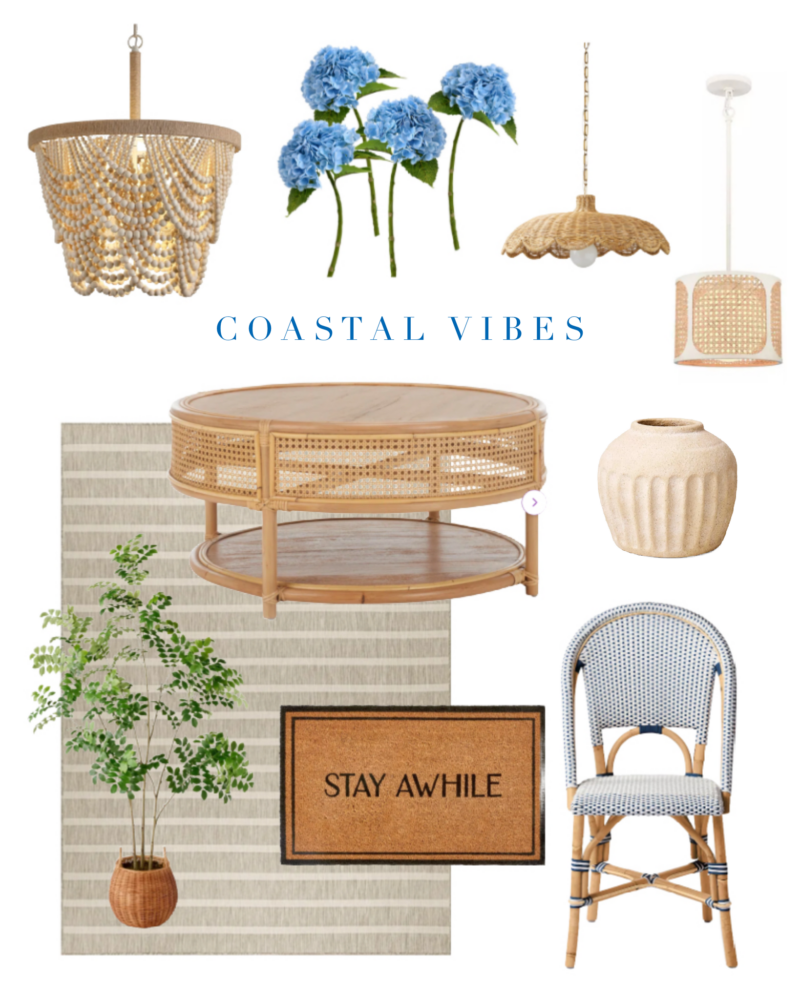
These bistro chairs will always be class in my book. Serena & Lily is hosting a site wide 20% off sale so if you have been eyeing anything, now is a good time. You already know I am smitten with these hydrangeas and this tree gets rave reviews.
These beautiful pendants are 67% off with an extra 20% off. They were crazy pricey to begin with but the sale sure does make a difference.
- chandelier
- hydrangeas
- wicker pendant
- white and cane pendant
- coffee table
- vase
- striped rug
- faux tree – really pretty in person
- stay awhile welcome mat
- bistro chairs – 20% off
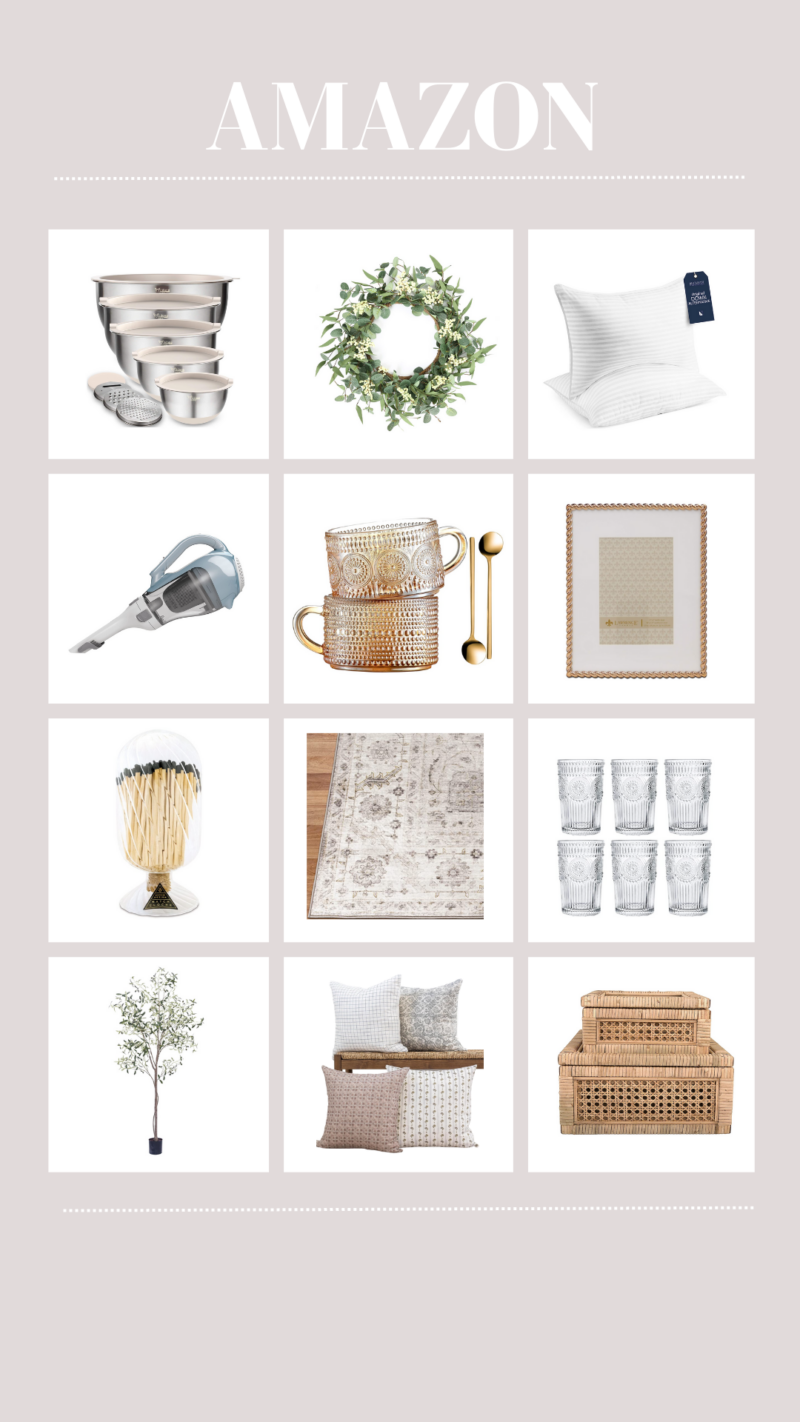
Speaking of coastal vibes, these Amazon finds are some of our favorite and all a great feel for this time of the year. We LOVE these glasses and bowls. We use both daily and they are also on sale. All linked here.
If you are part of my newsletter group, I did not get it sent out last night. With our daughter turning 18 and all of life’s events, the week slipped away but it will hit your inbox next week for sure. Would love to have you join us here.